It’s another bright and early morning and you wake up feeling ready to tackle the world. You fly through your morning routine and climb into your car 15 minutes ahead of schedule, which means you’ll have time for a donut – yes! You turn the key, and – nothing. You turn it again in disbelief – nothing. Frustration mounts as you realize your battery is dead, and the sweet taste of a glazed victory loop fades.
Do not fear. With the right knowledge, you can be back on the road and headed for that donut in less than 15 minutes. All you need is another car, jumper cables, and a little guidance. We’ll leave the first two up to you, and skip to the last – how does one jump start their car? It’s easy, but also dangerous. A car battery has enough juice to stop your heart, so consult your owners-manual, and proceed with caution!
Unless you have two vehicles, you’re going to need another person to help you solve this problem. It’s not always easy to ask someone for help, but in this case you need it. This could be a neighbor, your room-mate, a friend, or a stranger. Use your best judgement if asking a stranger for help, as you’ll need to establish some level of trust during this process.
Once you’ve got your trustworthy pal, pull their vehicle as close to yours as possible. Some jumper cables aren’t very long, so you’ll need to ensure you position the cars so their batteries are closest. Have your helper turn off their vehicle and pop the hood. Here’s where it’s very important to follow directions precisely.
WARNING: JUMPING A CAR CAN BE DEADLY IF NOT PREFORMED CORRECTLY. WE ARE NOT EXPERTS, ONLY DONUT-LOVING WRITERS.
Keep In mind:
- Not all “dead” batteries are without electrical charge. Treat each battery as if it is fully charged.
- Smoking while jumping a car can be a hazard.
- Corroded batteries should be replaced or handled by a professional. Battery Acid is toxic.
- Every car’s battery is different, so consult your owners-manual for more specific instructions.
- Keep metal objects away from the battery including watches and necklaces.
Know Your Battery
Most batteries have two terminals, positive and negative. Often, these terminals will be indicated using the colors red (positive) and black (negative. However, some cars do not indicate the positive and negative battery terminals using color. Identifying your battery terminals by looking for the positive and negative symbols (+ , -) is always a safer option.
Jumper Cables
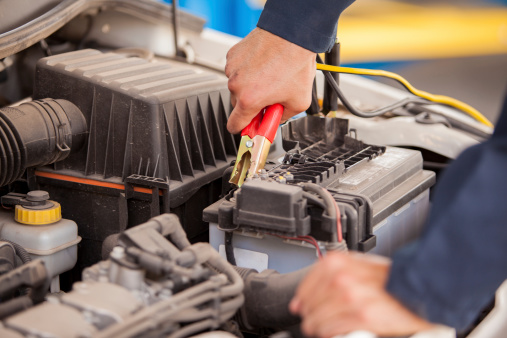
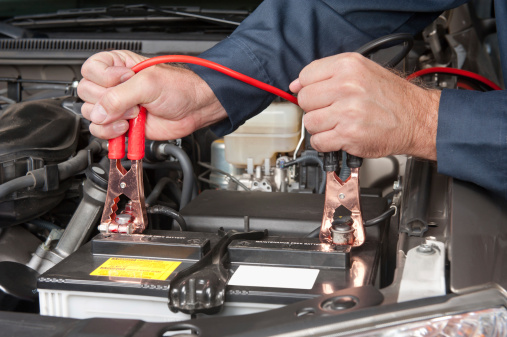
Once you know which terminals are positive and negative, grab your jumper cables. Jumper cables are just two pieces of high gauge wire with two large alligator clips or clamps on each side. These clamps hold the wire to the terminals, but have a tendency to pop off if not placed correctly. Make sure each clamp is always secured to the battery terminal before you move on to the next.
Before you attach the jumper cables to the terminals, ensure that no clamps are not touching each other, or anything metal.
It’s best to attach the jumper cables to one terminal on each battery at a time to reduce the risk of a shock. Take the red jumper cable and attach it to the positive terminal on your car, then do the same on the other car. Then take the black cable and repeat this process.
Once the two batteries are connected, start up the “live” car, and allow it to run for about a minute to charge up the other battery. After about one minute, you should be able to crank your car battery. If your car still doesn’t start, leave it to charge for another minute. If you’re still having no luck, we recommend letting the professionals in our parts and services department take a look. They see this kind of thing every day, and might be able to help you over the phone.
If the car does start, rejoice! Remove the cables with the same caution as used above, thank your friend or the stranger, and get back on track for a great day. There may still even be a donut in your future. Ah, chocolate glazed.


